As a trusted supplier of Lucky Cloud Printed Carpet, I'm excited to share with you a comprehensive guide on how to install this exquisite flooring option. Lucky Cloud Printed Carpet not only adds a touch of elegance and style to any space but also provides comfort and durability. Whether you're a DIY enthusiast or a professional installer, this guide will walk you through the installation process step by step.
Preparation
Before you begin the installation process, it's essential to gather all the necessary tools and materials. Here's a list of what you'll need:
- Measuring Tape: To measure the area where the carpet will be installed accurately.
- Utility Knife: For cutting the carpet to the correct size.
- Carpet Adhesive: Choose a high-quality adhesive suitable for your subfloor type.
- Carpet Roller: To ensure the carpet adheres firmly to the subfloor.
- Knee Kicker: This tool helps stretch the carpet tightly into place.
- Seam Iron: If you're installing multiple carpet pieces, a seam iron is necessary to fuse the seams together.
- Safety Gear: Wear gloves and safety glasses to protect yourself during the installation process.
Measuring the Area
Accurate measurements are crucial to ensure that you purchase the right amount of carpet. Measure the length and width of the room, taking into account any irregularities or obstacles. Add an extra few inches to each measurement to allow for trimming and fitting.
Choosing the Right Carpet
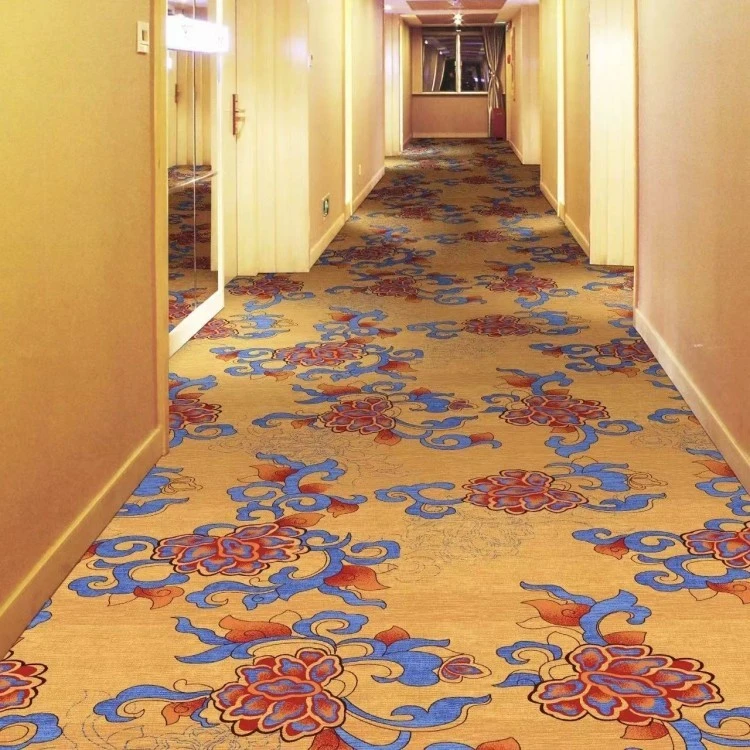
At our company, we offer a wide range of Lucky Cloud Printed Carpet designs to suit every taste and style. From Colorful Fireworks Patterned Carpet that adds a vibrant touch to any space to the Late - Night Starry - Sky Printed Carpet that creates a serene and peaceful atmosphere, and the Cloud-patterned Floral Printed Carpet that brings a touch of nature indoors. Choose a design that complements your existing decor and meets your functional needs.
Preparing the Subfloor
The subfloor must be clean, dry, and level before installing the carpet. Remove any existing flooring, debris, or adhesive residue. Fill in any cracks or holes with a suitable filler and allow it to dry completely. If the subfloor is uneven, use a self-leveling compound to create a smooth surface.
Installation Process
Step 1: Unroll the Carpet
Unroll the carpet in the room where it will be installed, making sure it is oriented in the correct direction. Allow the carpet to acclimate to the room temperature and humidity for at least 24 hours before installation.
Step 2: Cut the Carpet
Using a measuring tape and a utility knife, cut the carpet to the correct size, leaving a few extra inches around the edges for trimming. Make sure to cut the carpet straight and evenly.
Step 3: Apply the Adhesive
Apply the carpet adhesive to the subfloor using a trowel or a notched spreader. Follow the manufacturer's instructions for the correct application method and drying time. Make sure to apply the adhesive evenly and avoid getting it on the carpet.
Step 4: Install the Carpet
Starting at one corner of the room, carefully lay the carpet onto the adhesive, smoothing it out as you go. Use a knee kicker to stretch the carpet tightly into place, working from the center of the room towards the edges. Make sure the carpet is aligned properly and there are no wrinkles or bubbles.
Step 5: Trim the Edges
Once the carpet is in place, use a utility knife to trim the excess carpet along the edges of the room. Make sure to cut the carpet flush with the baseboards or other trim.

Step 6: Seam the Carpet (if necessary)
If you're installing multiple carpet pieces, use a seam iron to fuse the seams together. Follow the manufacturer's instructions for the correct temperature and pressure settings. Make sure the seams are straight and invisible.
Step 7: Roll the Carpet
Use a carpet roller to press the carpet firmly onto the subfloor, ensuring that it adheres properly. Roll the carpet in multiple directions to eliminate any air bubbles or wrinkles.
Step 8: Install the Carpet Trim
Install the carpet trim along the edges of the room to give it a finished look. Use a nail gun or adhesive to secure the trim in place.
Maintenance and Care
To keep your Lucky Cloud Printed Carpet looking its best, it's important to follow a regular maintenance and care routine. Here are some tips:
- Vacuum Regularly: Vacuum the carpet at least once a week to remove dirt, dust, and debris.
- Spot Clean Spills Immediately: Blot up spills with a clean, dry cloth as soon as they occur. Avoid rubbing the spill, as this can spread the stain.
- Deep Clean Periodically: Have the carpet professionally deep cleaned every 12 to 18 months to remove embedded dirt and stains.
- Avoid Sharp Objects: Keep sharp objects away from the carpet to prevent tears and damage.
Conclusion
Installing a Lucky Cloud Printed Carpet is a great way to enhance the beauty and comfort of your home or office. By following the steps outlined in this guide, you can ensure a successful installation and enjoy your new carpet for years to come. If you have any questions or need further assistance, please don't hesitate to contact us. We're here to help you with all your carpet needs.
If you're interested in purchasing our Lucky Cloud Printed Carpet or have any questions about the installation process, please feel free to reach out to us. We'd be happy to discuss your requirements and provide you with a personalized quote. Let's work together to transform your space with our beautiful and high-quality carpets.
References
- Carpet Installation Guide - Manufacturer's Manual
- Flooring Installation Best Practices - Industry Publications